Crispy chicken wings in just 10 minutes? It’s possible with a Visible Air Fryer! This appliance cooks wings faster than traditional methods, delivering a golden, crispy texture. Baking powder enhances the crunch, while the Air Fryer Oven Without Oil ensures healthier results. Perfect for snacks or meals, it’s a game-changer for busy households. If you’re looking for versatility, consider the Dual Basket Air Fryer Oven 9L, which allows you to cook multiple dishes at once. For smaller portions, the Mechanical Electric Mini Air Fryer is an excellent choice, providing convenience without sacrificing flavor.
Ingredients and Tools for Your Visible Air Fryer
Essential Ingredients for Crispy Wings
Crispy chicken wings require a few basic ingredients. Start with fresh or thawed chicken wings. Baking powder plays a key role in achieving a crunchy texture. Salt and pepper provide the foundation for flavor. For added depth, garlic powder or paprika can be included.
Tip: Pat the wings dry with a paper towel before seasoning. Removing moisture helps the baking powder adhere better and enhances crispiness.
Optional Seasonings and Substitutions
Seasonings allow for creativity. Chili powder adds heat, while lemon pepper offers a tangy twist. For a smoky flavor, try smoked paprika. Soy sauce or Worcestershire sauce can replace salt for a savory profile. Those avoiding baking powder can use cornstarch as an alternative.
| Seasoning | Flavor Profile | Suggested Use |
|---|---|---|
| Garlic Powder | Savory | Sprinkle evenly |
| Honey | Sweet | Brush after cooking |
| Cayenne Pepper | Spicy | Mix with dry rub |
Tools You’ll Need for Success
The right tools ensure consistent results. A Visible Air Fryer provides even cooking and lets users monitor progress through its window. A wire rack allows airflow around the wings, preventing sogginess. Tongs help flip the wings without damaging their coating.
- Dry wings with a paper towel to remove moisture.
- Toss wings in baking powder to increase crunch.
- Refrigerate wings overnight on a wire rack for better airflow.
- Bake at 425°F to 450°F for optimal crispiness.
Note: A Visible Air Fryer simplifies the process by reducing cooking time and eliminating the need for oil.
Preparing the Chicken Wings for Crispiness

Drying the Wings for Better Results
Drying chicken wings thoroughly is the first step to achieving maximum crispiness. Excess moisture on the skin hinders the Maillard reaction, which is essential for creating that golden, crunchy texture. Use a paper towel to pat the wings dry, ensuring no water remains on the surface.
“If you want your wings crispy, remove as much excess moisture as possible,” says Jeanette Kimszal, a registered dietitian. “More moisture during cooking will result in softer chicken and will also hinder the flavors produced from a successful Maillard reaction.”
For best results, place the wings on a wire rack and refrigerate them uncovered for a few hours. This process allows the skin to dry further, enhancing the crispiness during cooking.
Enhancing Crispiness with Baking Powder
Baking powder is a game-changer for crispy chicken wings. It works by drawing out moisture from the skin, creating a dry surface that crisps up beautifully in the Visible Air Fryer.
“…the baking soda in the baking powder draw out the moisture on the surface of the wings,” says Kimszal. “This will create a drier surface that will help improve crispness.”
Sprinkle a light coating of baking powder over the wings, ensuring even coverage. This step not only enhances the crunch but also helps render out excess fat during cooking, preventing greasiness.
Evenly Seasoning the Wings
Seasoning the wings evenly ensures consistent flavor and texture in every bite. Combine your chosen spices in a bowl and mix thoroughly before applying them to the wings. Toss the wings gently to coat them evenly.
Balance is crucial. You want a seasoning that complements the natural chicken flavor, rather than overwhelming it. It’s a delicate dance, where each element plays its part in creating a harmonious and unforgettable taste experience.
Avoid over-seasoning, as it can mask the natural flavor of the chicken. A balanced approach will result in wings that are flavorful and crispy, ready to be cooked to perfection.
Cooking the Wings in Your Visible Air Fryer
Preheating the Air Fryer to the Right Temperature
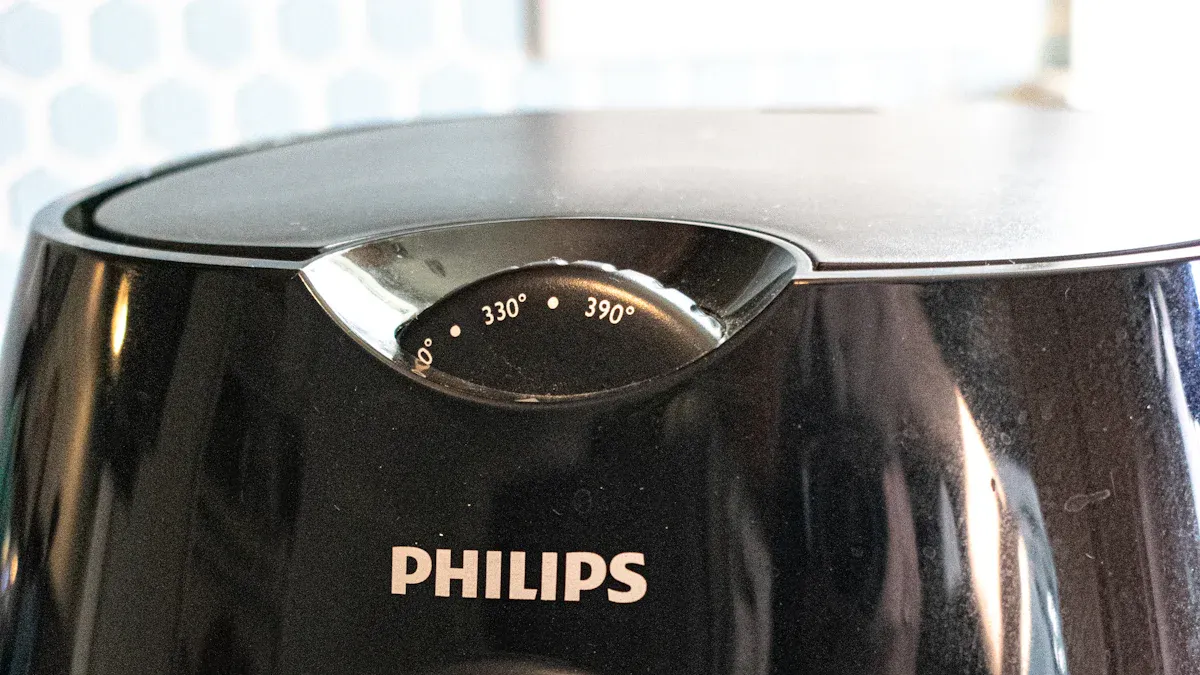
Preheating the air fryer is essential for achieving crispy chicken wings. Starting with a hot air fryer ensures even cooking and prevents the wings from becoming rubbery. Experts recommend preheating to 400°F–410°F for optimal results. This temperature range promotes browning, creating a golden, crispy exterior while keeping the meat juicy.
For a two-step cooking process, begin at 250°F for 15 minutes to lock in moisture. Then, increase the temperature to 430°F for an additional 15–20 minutes. This method enhances both texture and flavor. Preheating also reduces overall cooking time, making the process more efficient.
Arranging Wings for Optimal Airflow
Proper arrangement of the chicken wings in the air fryer basket is crucial. Overcrowding the basket can block airflow, leading to uneven cooking. Arrange the wings in a single layer, ensuring no pieces overlap. For best results, leave some space between each wing.
If the air fryer has a rack, place the wings upright along the sides. This positioning maximizes airflow, allowing the hot air to circulate evenly around each piece. Cooking in batches is another effective strategy for maintaining crispiness.
Setting the Perfect Temperature and Time
The right temperature and cooking time are key to perfectly crispy wings. Set the Visible Air Fryer to 400°F–410°F and cook for 20 minutes. Flip the wings halfway through to ensure even browning. For a slightly longer cook, set the temperature to 380°F and cook for 16–18 minutes.
Adding a light coating of olive oil before cooking enhances the crispiness and locks in the juices. Baking powder also plays a role in achieving a crunchy texture without altering the flavor. These techniques, combined with precise temperature control, guarantee delicious results every time.
Tips for Achieving Perfectly Crispy Wings
Avoiding Overcrowding in the Basket
Proper airflow is essential for crispy chicken wings. Overcrowding the air fryer basket blocks hot air circulation, leading to uneven cooking. Arrange the wings in a single layer, leaving small gaps between each piece. Wings can touch slightly, but full contact should be avoided to maintain temperature consistency and achieve the desired crispiness. Cooking in batches ensures every wing gets the attention it deserves.
Tip: A Visible Air Fryer allows you to monitor the wings as they cook, making it easier to spot overcrowding and adjust as needed.
Flipping the Wings for Even Cooking
Flipping the wings during cooking ensures even browning and crispiness on both sides. Halfway through the cooking process, use tongs to turn each wing over. This step allows both sides to benefit from the hot air circulation, resulting in a uniform texture. Skipping this step may leave one side less crispy than the other.
Pro Tip: Flipping also helps redistribute any seasoning or fat, enhancing the overall flavor.
Monitoring Through the Visible Window
The visible window on your air fryer is a game-changer. It allows you to keep an eye on the wings without opening the basket, which can cause heat loss. Watch for the wings to turn a deep golden brown, a sign that they are perfectly crispy. If adjustments are needed, such as flipping or rearranging, the window provides a clear view to guide your actions.
Note: Monitoring through the window ensures you don’t overcook or undercook the wings, preserving their juicy interior and crispy exterior.
Seasoning Variations and Serving Ideas

Classic Buffalo Wings
Buffalo wings are a timeless favorite. To create this classic flavor, toss the cooked wings in a mixture of melted butter and hot sauce. For a tangy kick, add a splash of vinegar or Worcestershire sauce. The buttery coating balances the heat, making it a crowd-pleaser. Serve with celery sticks for a refreshing crunch.
Tip: Use your Visible Air Fryer to achieve the perfect crispiness before coating the wings in sauce. This ensures the wings stay crunchy even after being tossed.
Garlic Parmesan Style
Garlic Parmesan wings offer a savory and cheesy alternative. Melt butter and mix it with minced garlic, grated Parmesan cheese, and a pinch of parsley. Toss the wings in this mixture after cooking. The garlic provides a bold flavor, while the Parmesan adds a salty, nutty finish. These wings pair well with a side of marinara sauce for dipping.
Sweet and Spicy Honey Glaze
For those who enjoy a balance of sweetness and heat, a honey glaze is ideal. Combine honey, soy sauce, and a dash of sriracha or chili flakes. Brush this glaze onto the wings during the last few minutes of cooking. The honey caramelizes, creating a sticky, flavorful coating. This variation works well as an appetizer or a main dish.
Pairing with Dipping Sauces and Sides
Pairing wings with the right sauces and sides enhances the dining experience. Ranch dressing ranks as the most popular choice, followed by buffalo sauce and BBQ sauce. Honey mustard and blue cheese also add unique flavors.
| Rank | Sauce/Side | Percentage (%) |
|---|---|---|
| 1 | Ranch | 59 |
| 2 | Buffalo/Hot Sauce | 48 |
| 2 | BBQ Sauce | 48 |
| 4 | Honey Mustard | 35 |
| 5 | Blue Cheese | 33 |
| 6 | Teriyaki Sauce | 23 |
| 7 | Sriracha | 15 |
| 8 | Nothing | 8 |

Sides like carrot sticks, celery, or fries complement the wings and add variety to the meal. These combinations elevate the overall satisfaction of any wing feast.
Storing and Reheating Leftover Wings
Proper Storage Techniques
Proper storage preserves the flavor and texture of leftover chicken wings. Begin by letting the cooked wings cool to room temperature. This step prevents condensation, which can make the wings soggy during storage. Once cooled, place the wings in an airtight container to maintain freshness.
- Refrigerated wings stay good for up to four days.
- For longer storage, freeze the wings on a baking sheet before transferring them to a freezer-safe container.
- Thaw frozen wings overnight in the fridge before reheating.
Tip: Avoid reheating wings multiple times. This practice can dry out the meat and diminish the crispiness.
Reheating Without Losing Crispiness
Reheating wings correctly restores their crunchy exterior while keeping the insides juicy. The air fryer is the most effective tool for this task. Preheat the air fryer to 375°F and reheat the wings for four to six minutes. This method ensures even heating and crispiness retention.
Alternatively, use an oven to achieve similar results. Place the wings on a wire rack in a preheated 400°F oven. Broil them for the last minute or two to enhance the crunch. For frozen wings, increase the oven temperature to 450°F and heat for 10–12 minutes.
- Air fryer: Preheat to 375°F, reheat for 4–6 minutes.
- Oven: Preheat to 400°F, broil for 1–2 minutes.
- Frozen wings: Oven at 450°F for 10–12 minutes.
Note: Microwaving wings is faster but sacrifices crispiness. Use this method only when time is limited.
Creating crispy chicken wings in just 10 minutes showcases the power of a Visible Air Fryer. The recipe’s simplicity and speed make it ideal for any occasion.
- Experiment with seasoning variations to suit different tastes.
- Pair wings with creative sides for a complete meal.
Try it today! Share your results and inspire others to enjoy this quick, delicious recipe.
FAQ
How do I prevent my wings from sticking to the air fryer basket?
Coat the basket lightly with cooking spray or oil before placing the wings. This prevents sticking and ensures easy removal after cooking.
Can I cook frozen chicken wings in the air fryer?
Yes, cook frozen wings at 400°F for 25–30 minutes. Flip halfway through for even cooking. Adjust time based on wing size.
Why are my wings not crispy enough?
Ensure the wings are dry before seasoning. Avoid overcrowding the basket, and preheat the air fryer to the recommended temperature for optimal crispiness.