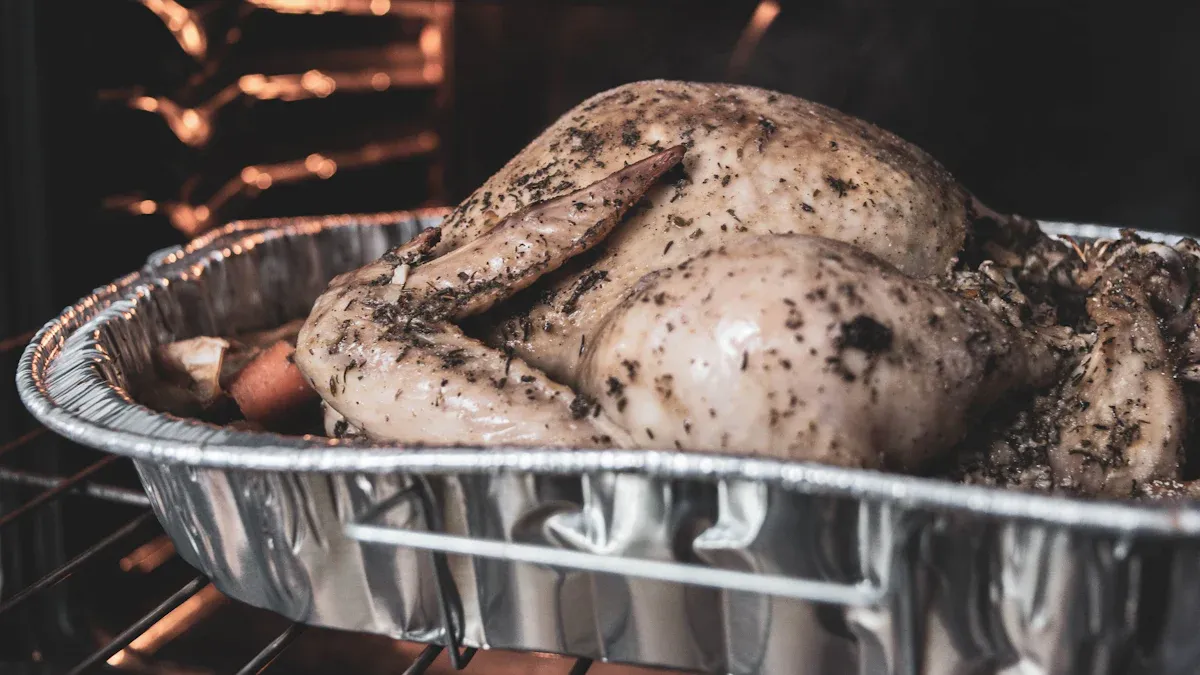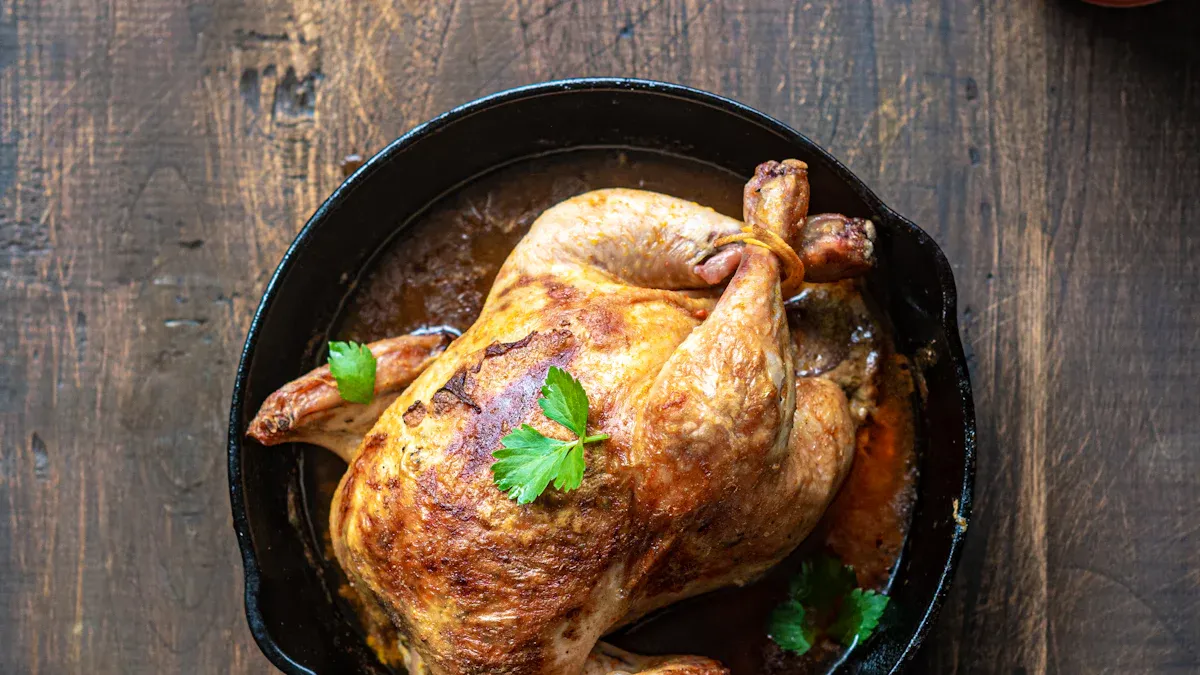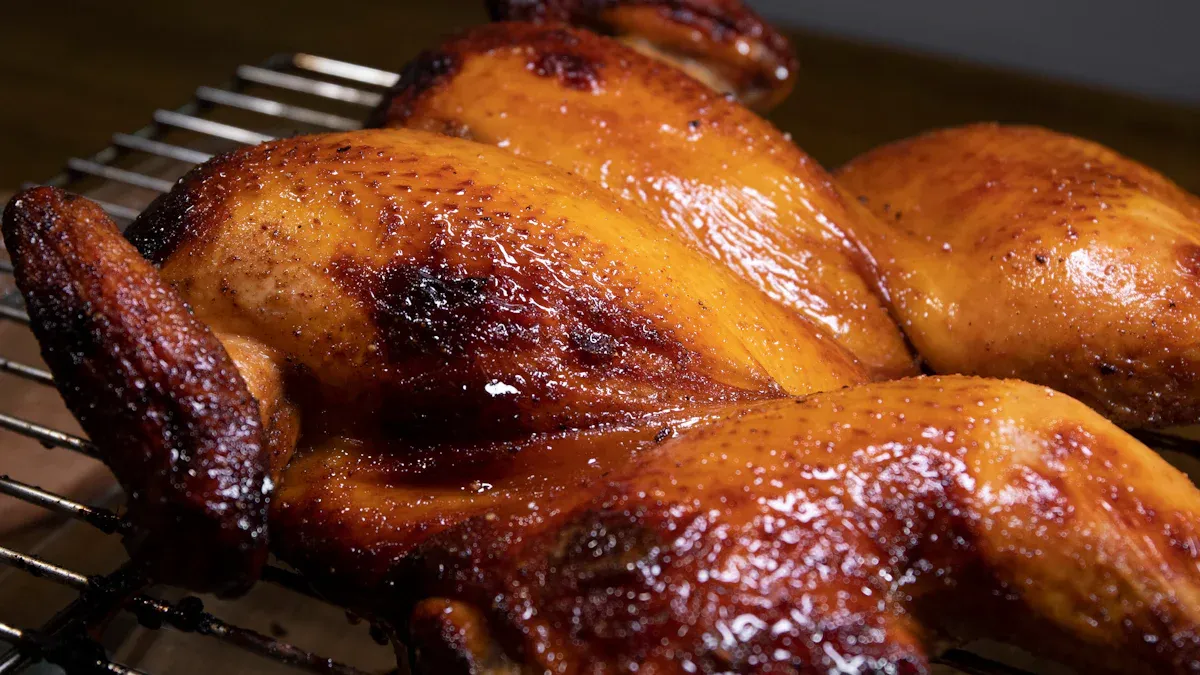
Cooking a whole chicken outdoors might sound challenging, but Cooking Air’s Portable Fryer makes it surprisingly easy. This compact device, equipped with the Double Digital Smart Air Fryer technology, ensures perfectly cooked chicken every time. For example, a 4-pound chicken takes just 55 to 60 minutes at 360°F. Whether you’re camping in the woods or by the lake, this fryer transforms your meal into a gourmet experience. Its Touch Screen Double Air Fryer controls and portability make it a must-have for outdoor cooking enthusiasts. Additionally, the Air Fryers With Double Baskets feature allows for cooking multiple items simultaneously, while the Basket Deep Electric Deep Fryer design ensures even cooking and easy cleanup.
Choosing the Right Chicken
Best size and type for the Double Digital Smart Air Fryer
Choosing the right chicken is the first step to a successful meal. For the Double Digital Smart Air Fryer, whole chickens weighing between 3 to 5 pounds work best. This size ensures even cooking and fits perfectly in the fryer basket. A smaller 3-pound chicken typically cooks in about 45 minutes, while a larger one weighing 4 to 5 pounds may take closer to an hour. Always check that the internal temperature reaches 165°F for safe consumption.
If you’re unsure about the size, opt for a medium-sized chicken. It’s easier to handle and cooks more evenly, especially when you’re outdoors. Plus, it leaves room in the fryer for any sides you might want to prepare.
Fresh vs. frozen: What works best for camping
When it comes to fresh versus frozen chicken, both have their advantages. Fresh chicken is ready to season and cook right away, making it a convenient choice. However, frozen chicken can be a lifesaver for longer camping trips. It stays fresh longer and helps keep other items in your cooler cold. Just remember to thaw it completely before cooking. A partially frozen chicken won’t cook evenly, even in the Double Digital Smart Air Fryer.
For shorter trips, fresh chicken is ideal. For extended adventures, frozen chicken offers more flexibility. Either way, plan ahead to ensure your chicken is ready when it’s time to cook.
Safe storage tips for chicken while camping
Proper storage is crucial when handling chicken outdoors. Keep raw chicken in a sealed, waterproof bag or container to prevent leaks. Store it in an insulated cooler with plenty of ice to maintain a safe temperature. Always separate raw chicken from cooked foods to avoid cross-contamination.
If you have leftovers, chill them immediately. Vacuum-sealed packages are great for storing cooked chicken safely for several days. Don’t forget to wash your hands before and after handling chicken to maintain hygiene. With these tips, you can enjoy a safe and delicious meal at your campsite.
Essential Ingredients and Tools
Must-have seasonings and marinades for flavor
Seasonings and marinades can transform a simple chicken into a gourmet delight. A good marinade not only enhances flavor but also improves tenderness and moisture retention. Ingredients like salt play a key role by locking in moisture and making the meat juicier. Sugar in marinades helps create a golden, caramelized crust, while acids like lemon juice or vinegar tenderize the chicken by breaking down proteins.
For the best results, marinate the chicken for at least 12 hours. Longer marination, such as 24 hours, can make the meat firmer and more flavorful. Adding a touch of MSG to the marinade can also create a savory, umami-rich taste. Don’t forget to include your favorite herbs and spices, like garlic, paprika, or rosemary, to customize the flavor profile.
Tools for success: Thermometer, tongs, and more
Cooking a whole chicken outdoors requires the right tools. A meat thermometer is essential for checking the internal temperature, ensuring the chicken reaches a safe 165°F. Tongs make flipping the chicken easy without damaging the skin. A basting brush is handy for applying marinades or oils during cooking.
The Double Digital Smart Air Fryer simplifies the process by delivering crispy textures with minimal fat. Its even heat distribution ensures the chicken cooks perfectly every time. This portable fryer is a game-changer for outdoor cooking enthusiasts.
Packing and portability tips for camping
Packing for a camping trip requires careful planning. Prepping ingredients at home saves time and space. Chop vegetables, mix marinades, and store them in airtight containers. Dehydrated spices and pre-made sauces are lightweight and easy to carry.
Bring pantry staples like oil, salt, and pepper in small, resealable bags. For variety, pack dried fruits, instant rice, or soup mixes. Fresh foods like chicken can last a day or two in a cooler with ice packs. Aim for 1½ to 2½ pounds of food per person per day to ensure everyone stays satisfied.
With these tips, you’ll have everything you need for a delicious camping meal.
Preparing the Chicken

Cleaning and drying for optimal results
Proper cleaning and drying are essential for a perfectly cooked chicken. Start by removing the giblets and neck from the cavity. Avoid rinsing the chicken, as this can spread bacteria to nearby surfaces. Instead, pat the chicken dry with paper towels. This step ensures the skin crisps up beautifully during cooking.
Always wash your hands thoroughly before and after handling raw chicken. Keep raw poultry separate from other foods to prevent cross-contamination. If you’re working at a campsite, sanitize your cutting board and utensils with hot, soapy water or disinfectant wipes. These simple steps help maintain food safety and set the stage for a delicious meal.
Seasoning techniques for even flavor
Seasoning a whole chicken evenly is key to enhancing its flavor. Begin by loosening the skin from the breast meat. Spread softened butter or oil under the skin to keep the meat juicy. Then, rub a mix of your favorite spices all over the chicken, including inside the cavity. A blend of garlic powder, paprika, and black pepper works well.
For the best results, season the chicken 8-24 hours before cooking. This allows the flavors to penetrate deeply. Don’t forget to salt the cavity—it’s a small step that makes a big difference. If you’re short on time, applying oil before seasoning helps the spices stick evenly.
Prepping the Double Digital Smart Air Fryer for use
Before cooking, preheat the Double Digital Smart Air Fryer for a few minutes. This ensures even heat distribution and optimal results. Use a small amount of oil to coat the fryer basket lightly. Place the chicken breast-side down in a single layer to promote even cooking.
The fryer’s smart functions make meal prep a breeze. Adjust the temperature and timer based on the chicken’s size, ensuring it reaches an internal temperature of 165°F. With its user-friendly design, this air fryer simplifies gourmet cooking, even in the great outdoors.
Cooking the Chicken

Setting up the fryer at your campsite
Setting up the fryer at your campsite is quick and easy. First, find a flat, stable surface to place the fryer. This ensures it stays secure while cooking. Make sure the fryer is near a power source, such as a portable generator or campsite outlet. If you’re using an extension cord, choose one rated for outdoor use.
Next, plug in the Double Digital Smart Air Fryer and preheat it to 360°F. Preheating takes only a few minutes and helps the chicken cook evenly. While the fryer heats up, lightly coat the basket with oil to prevent sticking. Once everything is ready, you’re all set to start cooking your gourmet chicken outdoors.
Temperature and timing for a whole chicken
Cooking times and temperatures depend on the size of the chicken. Here’s a handy table to guide you:
| Weight of Whole Chicken | Cooking Temperature | Total Cooking Time |
|---|---|---|
| 2 lbs (0.9 kg) | 360°F (182°C) | 45 to 50 minutes |
| 3 lbs (1.4 kg) | 360°F (182°C) | 50 to 55 minutes |
| 4-5 lbs (1.8-2.3 kg) | 360°F (182°C) | 55 to 60 minutes |
| 5-6 lbs (2.3-2.7 kg) | 360°F (182°C) | 1 hour 5 minutes to 1 hour 10 minutes |
For the best results, use a meat thermometer to check the internal temperature. The breast should reach 165°F, while the thighs should be between 170°F and 175°F. This ensures the chicken is fully cooked and safe to eat.
Flipping and monitoring for even cooking
Flipping the chicken halfway through cooking helps it cook evenly. Start by placing the chicken breast-side down in the fryer basket. After the first half of the cooking time, use tongs to flip it over. This allows both sides to crisp up beautifully.
Cooking at lower temperatures, like 250°F, for longer periods can make the meat tender and flavorful. However, for campsite cooking, 360°F strikes the perfect balance between speed and taste.
Keep an eye on the chicken as it cooks. If the skin starts to brown too quickly, reduce the temperature slightly. Always check the thickest parts of the chicken with a thermometer to ensure even cooking. With these steps, your chicken will turn out juicy and delicious every time.
Resting and Serving
Why resting the chicken is essential
Resting the chicken after cooking is a step you shouldn’t skip. It allows the juices to redistribute throughout the meat, making every bite tender and flavorful. Cutting into the chicken too soon can cause the juices to escape, leaving the meat dry. Experts recommend resting the chicken for 10-15 minutes before carving. Cover it loosely with aluminum foil to keep it warm while it rests.
Here’s a quick guide from culinary experts:
| Source | Recommendation |
|---|---|
| I Heart Umami | Let the chicken rest for 10-15 minutes. |
| Recipe Teacher | Rest for 5-10 minutes, covering with foil. |
| Belle of the Kitchen | Allow 10 minutes for juices to soak back in. |
By following these tips, you’ll ensure your chicken stays juicy and delicious.
Serving ideas with camping-friendly sides
Pairing your chicken with the right sides can elevate your camping meal. Here are some easy, camping-friendly ideas:
- Wrap shredded chicken, celery, mayo, and cubed cheese in foil. Freeze it before your trip, then heat it over the campfire until the cheese melts.
- Prepare gluten-free mac and cheese in advance using an Instant Pot. Transfer it to foil pie pans for quick reheating at the campsite.
- Bring along pre-made salads in jars. Pair them with sandwiches or soup for a complete meal.
These sides are simple to prepare and complement the rich flavors of your chicken perfectly.
Presenting your gourmet camping meal
Presentation matters, even when you’re outdoors. Arrange the chicken on a cutting board or a large plate. Surround it with your chosen sides for a colorful and inviting display. Use fresh herbs like parsley or rosemary as a garnish to add a touch of elegance.
If you’re serving a group, carve the chicken into portions before plating. This makes it easier for everyone to dig in. With the Double Digital Smart Air Fryer, your chicken will look and taste like it came from a professional kitchen, even in the wilderness.
Tips for Success
Achieving crispy skin and juicy meat
Getting that perfect combination of crispy skin and juicy meat is easier than you think. Start by preheating the air fryer. This step ensures the chicken cooks evenly from the start. Place the chicken breast-side down first to lock in moisture, then flip it halfway through for a golden, crispy finish.
The single most important factor in achieving juicy, flavorful chicken is the internal temperature. Remove the chicken when the breasts reach 165°F.
Brining is another game-changer. Submerge the chicken in a saltwater solution with aromatics like lemon and herbs. This process enhances both moisture and flavor. For a whole chicken, brine it for 12-24 hours before cooking. Don’t forget to rub softened butter under the skin. This not only keeps the meat tender but also helps the skin crisp up beautifully.
Ensuring even cooking in outdoor conditions
Cooking outdoors can be unpredictable, but a few tricks can help. First, avoid overcrowding the fryer basket. Too much food at once blocks airflow, leading to uneven cooking. Instead, cook in smaller batches if needed.
Here’s a quick checklist for success:
- Preheat the air fryer to the correct temperature.
- Start with the chicken breast-side down.
- Flip the chicken halfway through cooking.
Also, keep an eye on the weather. Windy conditions can affect the fryer’s performance. Set up a windbreak or cook in a sheltered area to maintain consistent heat.
Managing leftovers while camping
Leftovers can be a lifesaver during camping trips, but proper storage is key. Pack cooked chicken in waterproof containers and store it in an insulated cooler with plenty of ice. Keep raw and cooked foods separate to avoid cross-contamination.
To keep food safe, chill leftovers immediately after meals. Perishables should stay at 40°F or colder. Pre-chilling your cooler and double-bagging raw meat can also prevent leaks and spoilage. Maintaining hygiene is equally important. Wash hands before handling food and keep your cooking area clean to avoid foodborne illnesses.
With these tips, you’ll enjoy safe and delicious meals throughout your camping adventure!
Cooking a whole chicken outdoors has never been easier. The Double Digital Smart Air Fryer delivers gourmet results, even in the wilderness. Its simplicity and efficiency make it a must-have for camping enthusiasts. Why not try this recipe on your next adventure? It’s a delicious way to elevate your outdoor meals!
FAQ
How do you clean the Double Digital Smart Air Fryer after cooking?
Cleaning is simple! Let the fryer cool, then remove the basket. Wash it with warm, soapy water. Wipe the fryer’s interior with a damp cloth.
Can you cook other foods alongside the chicken?
Absolutely! Use the fryer’s double basket feature to cook sides like vegetables or potatoes. Just ensure the foods have similar cooking times for the best results.
What power source works best for the fryer while camping?
A portable generator or campsite outlet works great. Use an outdoor-rated extension cord if needed. Always check the fryer’s wattage to match your power source.


