Keeping an air fryer clean isn’t just about looks—it’s crucial for optimal performance and healthier cooking. Regular maintenance helps prevent grease buildup, which can lead to unpleasant smells, fire hazards, and unwanted flavor mixing between meals. Shockingly, 32% of UK adults admit to not cleaning their air fryers properly. A simple 3-minute cleaning routine can make a huge difference. Whether you own a Double Electric Air Fryer, a Without Oil Dual Air Fryer, a Grey Double Air Fryer, or an Air Fryer With Double Basket, these tips are effective for every model.
Essential Tools and Supplies for Cleaning

Cleaning an air fryer doesn’t require fancy gadgets. With just a few simple tools, anyone can keep their unit spotless and ready for the next meal.
Non-abrasive sponges and microfiber cloths
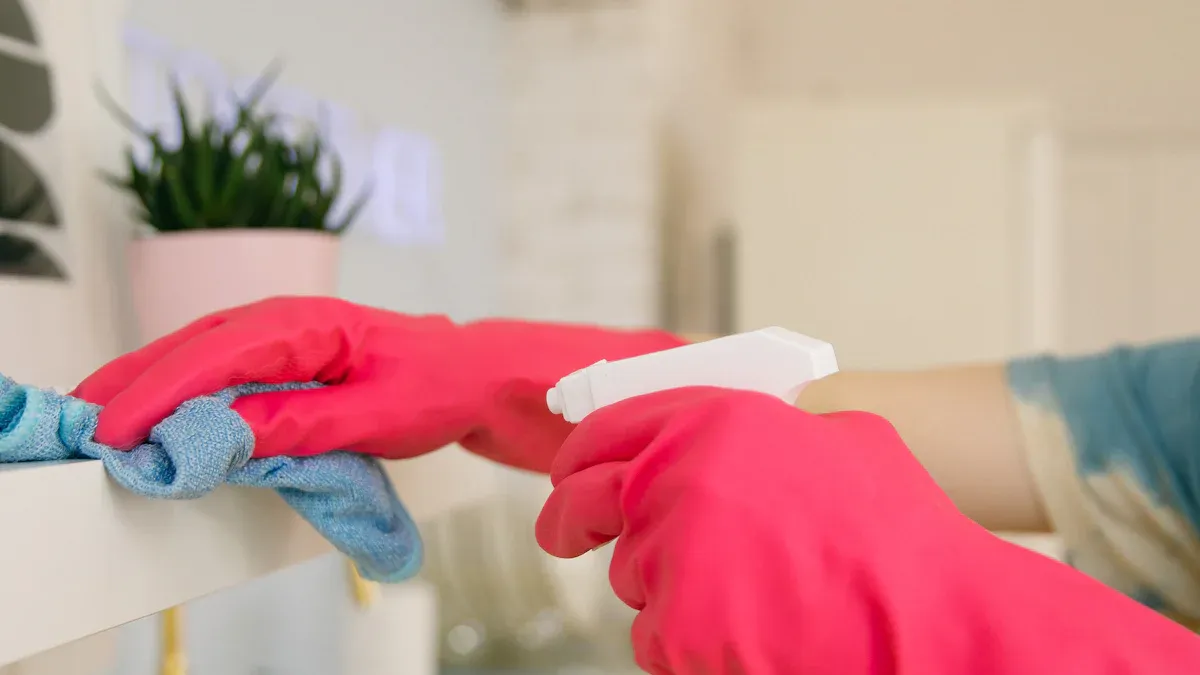
Non-abrasive sponges are a must-have for air fryer cleaning. They gently scrub away grease and food residue without scratching the non-stick coating. Microfiber cloths work wonders for wiping down the exterior, leaving it streak-free and shiny. Consumer reports highlight that using soft sponges prevents damage to the air fryer’s surfaces. For stuck-on messes, soaking the basket or tray in warm, soapy water for 10-15 minutes makes cleanup easier.
Mild dish soap and warm water
Mild dish soap paired with warm water is the ultimate cleaning duo. This combination loosens stubborn residue without harming the air fryer’s coating. Fill a basin with warm water, add a few drops of soap, and soak the removable parts for 10-15 minutes. Afterward, use a damp sponge to gently scrub the basket and tray. This method works well for all air fryer models, including the Double Electric Air Fryer.
Baking soda and vinegar for stubborn stains
For tougher stains, baking soda and vinegar come to the rescue. Mix baking soda with white vinegar to create a paste, then apply it to greasy or burnt areas. Let it sit for about 10 minutes before scrubbing with a soft sponge. This natural solution effectively breaks down grime without the need for harsh chemicals.
Soft-bristle brushes for hard-to-reach areas
Soft-bristle brushes are perfect for cleaning corners and crevices inside the air fryer. They reach spots that sponges can’t, ensuring every inch of the unit stays clean. Use them to gently remove food particles or grease buildup from the heating element and other tricky areas.
Pro Tip: Avoid using steel wool or abrasive tools, as they can scratch and damage the air fryer’s surfaces. Stick to soft materials for a safer and more effective clean.
Step-by-Step Quick Cleaning Process
Unplug and cool down the air fryer
The first step is to unplug the air fryer. This ensures safety by reducing the risk of electric shock or accidental activation. Letting the unit cool down completely is equally important. Handling a hot air fryer can lead to burns or damage to its components. Always remember: safety first!
Pro Tip: Unplugging also makes it easier to move the air fryer around for a thorough clean.
Remove and wash the basket and tray
Take out the basket and tray, as these parts collect most of the grease and food residue. Washing them regularly prevents buildup, odors, and bacteria. Use warm water and mild dish soap to clean these components. For stubborn stains, soak them for a few minutes before scrubbing gently. This practice keeps the air fryer, including models like the Double Electric Air Fryer, performing at its best.
Wipe down the interior and exterior
Use a damp microfiber cloth to wipe the inside and outside of the air fryer. This step removes grease, dust, and any food particles that may have splattered during cooking. Keeping the exterior clean also prevents dirt from seeping into the unit, ensuring a hygienic cooking environment.
Dry all parts thoroughly before reassembling
Before putting everything back together, make sure all parts are completely dry. Moisture can lead to rust, mold, or even malfunction. Use a clean, dry cloth or let the components air-dry. Once dry, reassemble the air fryer and store it in a clean, dry place.
Note: Thorough drying is especially important for long-term care and maintaining the air fryer’s performance.
Tips for Tackling Stubborn Stains and Odors

Use a baking soda paste for burnt-on residue
Burnt-on residue can be a real headache, but baking soda makes it easy to tackle. Start by mixing baking soda with a little water to create a thick paste. Spread the paste over the burnt areas inside the air fryer. Let it sit for 15-20 minutes to loosen the residue. Afterward, scrub gently with a soft brush to lift the grime. Rinse the area thoroughly and dry it completely. This method works wonders for all air fryer models, including the Double Electric Air Fryer.
Pro Tip: For best results, avoid using too much water when making the paste. A thicker consistency sticks better to stubborn stains.
Deodorize with a vinegar and water solution
Lingering odors can ruin the joy of cooking. A simple vinegar and water solution can freshen up your air fryer in no time. Mix equal parts white vinegar and warm water. Use a soft cloth to wipe down the interior surfaces. This natural deodorizer not only removes smells but also helps sanitize the unit. For stronger odors, place a small bowl of the mixture inside the air fryer and let it sit for 30 minutes.
Did You Know? Vinegar’s natural acidity breaks down odor-causing particles, leaving your air fryer smelling fresh and clean.
Avoid harsh chemicals that can damage the coating
Harsh chemicals might seem like a quick fix, but they can harm your air fryer’s non-stick coating. Stick to gentle cleaning solutions like baking soda, vinegar, or mild dish soap. Abrasive cleaners can scratch the surface, reducing the unit’s efficiency over time. Always check the manufacturer’s instructions for recommended cleaning products to keep your air fryer in top shape.
Reminder: Protecting the coating ensures your air fryer lasts longer and cooks food evenly.
Common Cleaning Mistakes to Avoid
Even with the best intentions, some cleaning habits can harm an air fryer’s performance and lifespan. Avoiding these common mistakes ensures the appliance stays in top shape for years to come.
Skipping regular cleaning after each use
Neglecting to clean the air fryer after every use can lead to several problems. Grease buildup often results in unpleasant odors, while crumbs and oil accumulation pose a fire hazard. Over time, this dirt can mix flavors between meals, affecting the taste of food.
- A dirty air fryer becomes sticky and greasy.
- Regular use without cleaning reduces the appliance’s lifespan.
- Build-up impacts safety and meal quality.
Skipping this simple step also makes cleaning harder later. A quick wipe-down after each use prevents these issues and keeps the air fryer hygienic.
Using abrasive tools that scratch surfaces
Using abrasive tools like steel wool or metal utensils might seem effective, but they can scratch the non-stick coating. These scratches not only ruin the appearance but also make food stick during cooking.
- Steel wool damages the surface, leading to uneven cooking.
- Metal utensils can deteriorate the coating, reducing the air fryer’s efficiency.
| Cleaning Tip | Importance |
|---|---|
| Use soft sponges | Prevents damage to the non-stick coating, ensuring better cooking results. |
| Avoid abrasive scrubbers | Protects the surface and maintains the air fryer’s functionality. |
Submerging electrical components in water
Submerging the air fryer’s electrical parts in water is a dangerous mistake. Water exposure can damage the internal wiring, leading to malfunctions or even rendering the appliance unusable. Always clean these areas with a damp cloth instead of soaking them.
Tip: Keep water away from the heating element and control panel to avoid costly repairs.
Ignoring manufacturer cleaning instructions
Every air fryer model comes with specific cleaning guidelines. Ignoring these instructions can lead to improper care and potential damage. For example, some parts may not be dishwasher-safe, while others require gentle cleaning methods.
| Cleaning Mistake | Consequence |
|---|---|
| Using aerosol sprays | Damages the non-stick surface, reducing performance. |
| Ignoring instructions | Leads to improper cleaning and shorter appliance lifespan. |
Following the manufacturer’s advice ensures the air fryer remains efficient and safe to use.
Reminder: A little extra care goes a long way in preserving your air fryer’s quality and performance.
Maintenance Tips for Long-Term Care
Clean the air fryer after every use
Cleaning the air fryer after each use is essential for keeping it in top condition. Regular cleaning prevents grease buildup, which can cause unpleasant odors and even fire hazards. It also stops crumbs and oil from accumulating, ensuring flavors don’t mix between meals. Neglecting this step can reduce cooking efficiency and alter food flavors over time. A quick wipe-down and washing of removable parts keep the air fryer hygienic and ready for the next meal.
Tip: A structured cleaning routine not only extends the lifespan of your air fryer but also ensures your food stays safe and tasty.
Check and clean the heating element periodically
The heating element plays a crucial role in your air fryer’s performance. Over time, grease and food particles can accumulate, affecting its efficiency. To clean it:
- Ensure the air fryer is unplugged and cool.
- Inspect the heating element for residue or grease.
- Remove loose debris with a soft brush or cloth.
- Use a damp cloth to tackle stubborn residue.
- For burned-on grease, apply a baking soda paste and gently scrub.
- Dry the element completely before using the air fryer again.
Regular maintenance of the heating element ensures consistent cooking results and prevents potential malfunctions.
Store the air fryer in a clean, dry place
Proper storage is often overlooked but is vital for long-term care. Keep the air fryer in a dry part of the kitchen, away from windows or areas prone to moisture. High humidity can damage internal components over time. Using silica gel packs or a dehumidifier in the kitchen can help reduce moisture levels. Whenever possible, store the air fryer in its original box to protect it from dust and humidity.
Pro Tip: A clean, dry storage environment ensures your air fryer stays in excellent condition and ready for use.
Replace worn-out parts as needed
Worn-out parts can compromise the performance of your air fryer. Components like the basket, heating element, or power cord may need replacement over time. Damaged parts can lead to uneven cooking or even safety hazards. Identifying and replacing these parts promptly ensures the appliance operates effectively. For example, replacing a worn basket in a Double Electric Air Fryer can restore its cooking quality and extend its lifespan.
Reminder: Regularly inspect your air fryer for signs of wear and tear to avoid unexpected issues during use.
Regular air fryer cleaning isn’t just a chore—it’s a game-changer for performance and food quality. A clean unit ensures better heat distribution, safer meals, and longer appliance life.
| Benefit | Description |
|---|---|
| Improved Performance | Regular cleaning ensures optimal heat distribution and taste quality. |
| Enhanced Food Safety | Reduces risks of bacteria and mold contamination. |
| Odor Reduction | Prevents unpleasant smells and harmful compound release during reheating. |
| Extended Lifespan | Maintains efficiency and reduces the likelihood of costly repairs. |
Adopting a quick 3-minute cleaning routine keeps grease buildup at bay and ensures tastier meals.
- Clean components like the basket and tray after each use to prevent odors.
- Regular maintenance ensures even cooking and better food safety.
A spotless air fryer means healthier, more delicious meals every time!
FAQ
How often should an air fryer be cleaned?
Clean the air fryer after every use. Regular cleaning prevents grease buildup, odors, and bacteria, ensuring better performance and healthier meals.
Tip: A quick 3-minute cleaning routine works wonders!
Can air fryer parts go in the dishwasher?
Most removable parts, like baskets and trays, are dishwasher-safe. Always check the manufacturer’s manual to confirm before placing them in the dishwasher.
What’s the best way to remove burnt-on food?
Use a baking soda paste. Apply it to the burnt areas, let it sit for 15 minutes, then scrub gently with a soft brush.
Pro Tip: Avoid abrasive tools to protect the non-stick coating.


