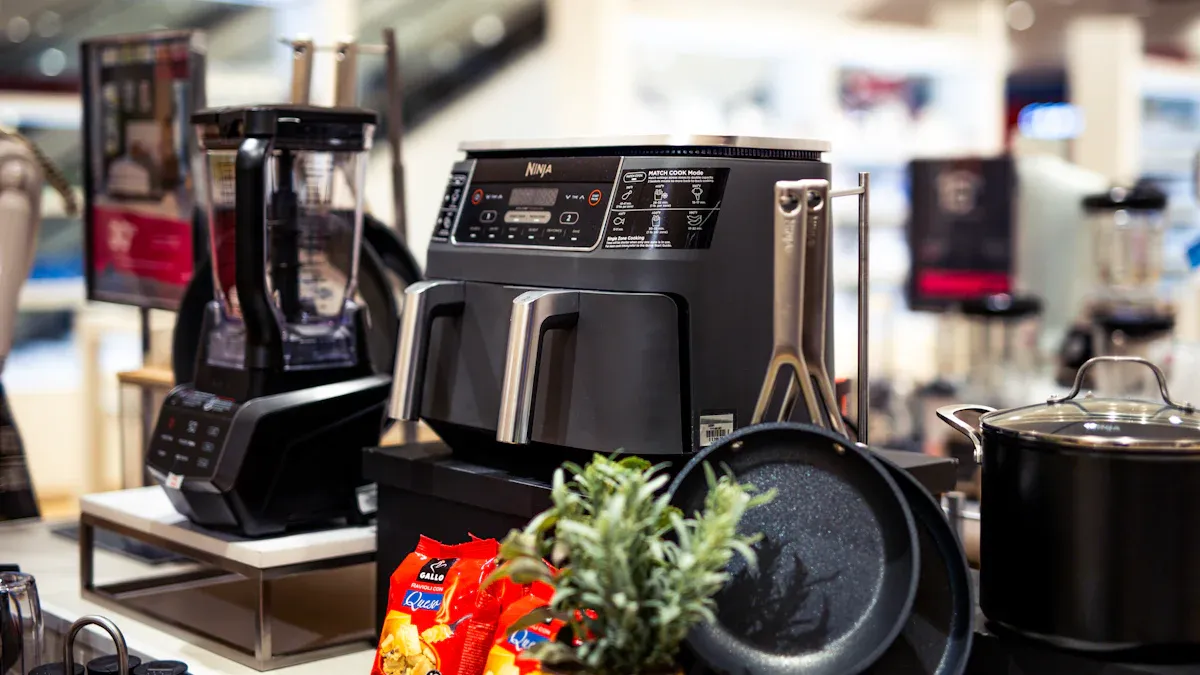
A Multi-Functional Automatic Electric Fryer is a versatile kitchen appliance that simplifies cooking. This Smart Electric Deep Air Fryer utilizes 360-degree hot wind surround heating for even results. Beginners love it because of its intuitive digital interface, preset programs, and manual timer. With features like instant heat and Rapid Airflow technology, this Multifunction Electric Oil-Less Air Fryer makes cooking as easy as pressing a button. The Smart Electric Air Fryer is designed to enhance your cooking experience effortlessly.
Setting Up and Operating a Multi-Functional Automatic Electric Fryer

Unboxing and Assembling
Unboxing a Multi-Functional Automatic Electric Fryer feels like opening a treasure chest for your kitchen. Inside, you’ll find the fryer, a removable basket, and sometimes extra accessories like a mixing paddle or recipe booklet. Start by checking the manual for assembly instructions. Most fryers have a simple setup—just attach the basket and ensure all parts fit snugly. If your fryer includes a stirring paddle, secure it in place before moving on.
Initial Cleaning and Preheating
Before cooking, give the fryer a quick clean. Wash the removable parts, like the basket and paddle, with warm soapy water. Dry them thoroughly before reassembling. Preheating is the next step. Turn on the fryer and select the preheat option or set it to a low temperature for a few minutes. This ensures even cooking and removes any factory residue.
Understanding the Control Panel
The control panel is where the magic happens. Most fryers feature a digital interface with preset cooking programs, a timer, and power levels. Here’s a quick overview:
| Feature | Description |
|---|---|
| Cooking programs | 7 total (4 pre-set and 3 special) |
| Control panel | Digital |
| Automatic stirring function | Yes, with mixing paddle |
| Timer | Yes |
| Power levels | 4 |
| Auto shut-off | Yes |
Take a moment to explore these options. They make cooking with a Multi-Functional Automatic Electric Fryer incredibly user-friendly.
Preparing Food for Cooking
Preparation is key to delicious results. Cut ingredients into uniform sizes for even cooking. If you’re air frying, a light coat of oil can enhance crispiness. Place the food in the basket, ensuring it’s not overcrowded. This allows hot air to circulate freely, giving you perfectly cooked meals every time.
Common Settings on a Multi-Functional Automatic Electric Fryer
Air Fry
The air fry setting is the star feature of a Multi-Functional Automatic Electric Fryer. It uses rapid hot air circulation to cook food evenly, giving it a crispy texture without the need for deep frying. This setting works great for fries, chicken wings, and even vegetables. To get the best results, users should lightly coat their food with oil and shake the basket halfway through cooking. This ensures every piece gets that golden, crunchy finish.
Bake
The bake function transforms the fryer into a mini oven. It’s perfect for small batches of cookies, muffins, or even casseroles. Unlike traditional ovens, this setting preheats quickly and maintains consistent heat. Users can place their batter or dough in an oven-safe dish that fits inside the fryer basket. This setting is ideal for those who want to bake without heating up their entire kitchen.
Broil
The broil setting is excellent for achieving a caramelized top layer on dishes like lasagna or roasted vegetables. It uses intense heat from the top of the fryer to brown and crisp the surface of the food. For best results, users should place the food closer to the heating element and keep an eye on it to avoid burning.
Reheat and Dehydrate
Reheating leftovers is a breeze with this setting. It revives the texture and flavor of food without making it soggy, unlike microwaves. The dehydrate function, on the other hand, is perfect for making dried fruits, jerky, or even vegetable chips. Users can set a low temperature and let the fryer work its magic over a few hours.
Tip: Always refer to the fryer’s manual for specific temperature and time recommendations for each setting.
Tips for Best Results with a Multi-Functional Automatic Electric Fryer

Balancing the Basket
Balancing the basket is crucial for even cooking. When placing food inside, spread it out in a single layer. This allows the hot air to circulate freely, ensuring every piece cooks evenly. For larger items like chicken thighs or fish fillets, position them with some space in between. If the fryer comes with a stirring paddle, use it for dishes like fries or vegetables to keep everything moving and prevent uneven browning.
Using Minimal Oil
One of the best features of a Multi-Functional Automatic Electric Fryer is its ability to cook with little to no oil. A light spray or brush of oil can enhance crispiness without adding unnecessary fat. Studies show that these fryers can reduce fat content in meals by up to 85%, making them a healthier alternative to traditional frying. For foods like breaded chicken or potatoes, a small amount of oil can make a big difference in texture and flavor.
Adjusting Cooking Times
Cooking times can vary depending on the type and size of the food. For example, soft-boiled eggs may need less time than hard-boiled ones. Similarly, cakes or casseroles might require adjustments based on their density. Refer to the fryer’s manual for guidance. Here’s a quick example:
| Food Type | Setting | Notes |
|---|---|---|
| Chicken Wings | Air Fry | Shake halfway for even crispiness. |
| Vegetables | Roast | Use a lower temperature for softer results. |
| Cookies | Bake | Check a few minutes before the timer ends. |
Experimenting with times and settings can help you find the perfect balance for your favorite recipes.
Avoiding Overcrowding
Overcrowding the basket is a common mistake. When too much food is packed in, the hot air struggles to reach every piece. This can lead to uneven cooking or soggy results. Instead, cook in batches if needed. While it might take a little longer, the results are worth it. Plus, the fryer’s faster cooking times make batch cooking more manageable.
Pro Tip: Cleanup is easier when the basket isn’t overloaded. Less mess means less scrubbing later!
Using a Multi-Functional Automatic Electric Fryer is simple and rewarding. Start by following the setup steps, cleaning regularly, and exploring its versatile settings. Experiment with recipes to discover new favorites. These fryers save energy, promote healthier cooking, and simplify meal prep.
| Benefit Type | Description |
|---|---|
| Energy Efficiency | Reduces energy use by up to 30%, lowering utility costs. |
| Automation Benefits | Handles multiple cooking tasks for consistent results. |
| Health-Conscious Cooking | Uses less oil, making meals healthier without sacrificing flavor. |
Remember: Practice makes perfect. With time, anyone can master this kitchen essential!
FAQ
How much oil should be used in a Multi-Functional Automatic Electric Fryer?
Most recipes need just 1–2 teaspoons of oil. For extra crispiness, lightly spray or brush the food with oil.
Can frozen foods be cooked directly in the fryer?
Yes! Frozen foods like fries or nuggets cook perfectly. No need to thaw—just adjust the cooking time slightly for best results.
What types of cookware are safe to use inside the fryer?
Oven-safe dishes, silicone molds, and metal pans work well. Always check the fryer’s manual for size and material compatibility.
Tip: Avoid using plastic containers—they can melt and damage the fryer.


